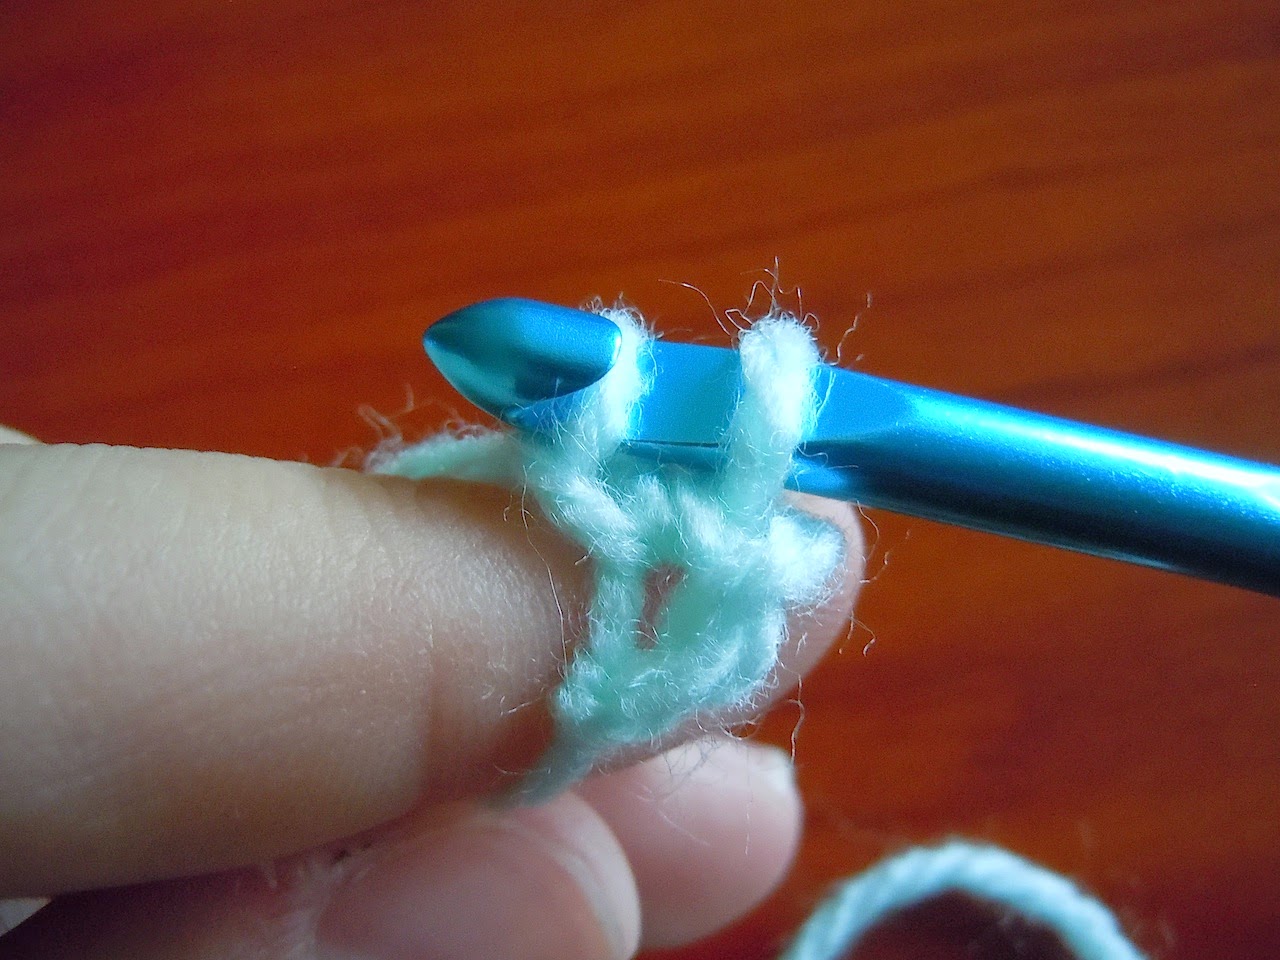
Foundation single crochet is an invaluable skill that saves time and eliminates crocheting into the chain. Seriously, who likes crocheting into a wiggly base chain? Not me. You can generally substitute in foundation single crochet whenever a pattern asks you to work up a base chain while working in rows. If Row 1 of your pattern happens to be a row of single crochet, you can also count your foundation single crochet chain as your first row! Sweet.
I also know that those many options I mentioned can sometimes be confusing. Inserting the hook in a place you didn't intend to can give your item a different look than you wanted. If you've been stumped by foundation single crochet and you'd like to sort it out, today I'm here to help! I'll show you not one but two ways to do foundation single crochet. You should be familiar with chain stitches and single crochet stitches before attempting foundation single crochet. It's all about where you insert your hook! Grab a nice light colored yarn and your favorite hook and come see what all of the fuss is about.
Here's the first method. Start with your slip knot as you always do when starting a base chain.
Work 2 chain stitches. Now, instead of continuing on we are going to stick our hook under the back loop of the first chain stitch as shown by the arrow.
There we go!
Now yarn over and draw up a loop.
Yarn over again. This should all be familiar so far, just like a regular single crochet stitch.
Here's where things are a bit different. Instead of pulling through both loops as you normally would, only pull through ONE loop as shown above. You'll be left with two loops on your hook again. This step is the "chain" part of the fsc (that's short for foundation single crochet).
Yarn over once more.
This time pull through both of the loops on the hook. Fabulous! That was the "stitch" part of our fsc. Congrats, you have now made your first fsc stitch.
Here's another view of our stitch. The lines show the two arms of the "v". It looks like the top of any other single crochet stitch.
Let's continue with our fsc. Each time you make a new stitch you'll insert your hook only into the loop shown by the arrow above.
Like so.
As before, draw up a loop. Yarn over and pull through one, yarn over again and pull through two. Review the photos above again if you need another look.
Now you've got a second fsc stitch.
Here are our stitches from the top.
Continue on until your chain is the desired length.
Notice how tidy the stitches are. Working into them on row one will be a breeze.
This first fsc method leaves a bottom edge that has noticeable gaps. These gaps could be useful for attaching fringe or tassels, working a border, etc.
Now we'll take a look at another way to do fsc. The finished chain looks a bit different.
Start by chaining 2 just as you did for the first method.
Now, instead of inserting the hook through only the back loop of the first chain stitch you will also insert it into the butt/spine of that stitch as shown by the line above.
Just like this. Now simply finish the stitch just like we did in the first method. Pull up a loop, yarn over, pull through one, yarn over again, pull through two.
There's our first stitch.
As you work your method 2 chain, continue inserting your hook under the back loop and the butt/spine loop every time you make a new fsc stitch.
Here is what a method 2 chain looks like. It's much denser.
Here my fingertip is pointing at the top row of "v's", the stitches you'll work into on row one. There's another little row of v's to the left of my finger that weren't there for method 1. You could potentially work into those loops if you wanted another piece of crochet fabric to be attached at an angle.
That's not all! This second method also leaves a line of v's on the bottom edge of the chain. This second method is handy for garment making when you don't want any holes in your seams.
Play around with both of these methods to see what works for you. There's no right or wrong choice! I like the first method because it works up a bit quicker, but I will concede that the second method has a fuller, tighter look. Have any questions about fsc? Feel free to ask away in the comments.


Thank you for instructions that are so easy to follow
ReplyDeleteYou're welcome! So happy to be helpful :)
DeleteHow many foundation single crochet to replace this: Chain 79, single crochet in 3rd ch, SC x 76, ch 1 and turn for new row. I did 77 but don't think it's right.
ReplyDeleteI would have done 77 as well. It sounds like the designer isn't counting the first sc of the row in the 76, meaning you would have 77. Something I'm not quite sure about is why they had you skip 2 chains instead of just 1 since it's customary to skip only one for single crochet. However, there could be a reason for this.
DeleteLong story short, I would do 77 fsc, ch 2, then work 1 sc into the first fsc and every fsc across, a total of 77 sc.
Thanks for your insight. I appreciate your response. I am trying to make Jody Pyott's Miracle baby blanket. When I did the 77 the next row is popcorn's and the total did not end up right. I guess I'll just try doing the chains and sc.
Delete